How I Created A Home Office For Under $50
Having a space in our home that stirred up creativity and passion has been something I have always wanted.
We live in a three bedroom townhouse, so needless to say our space is limited, especially since becoming a family of three (babies have a lot of stuff and toddlers have even more). I’ve learned that you have to make the best of what you have, and that’s exactly what I did!
Although space is quite limited, I still really wanted a space to write and edit that wasn’t my bed and didn’t create chaos on my kitchen table. I decided to create that space in a cozy corner located in our spare bedroom. Which also happens to be the brightest room in our home on a sunny day. Ah, natural light, the best accessory.
I gave myself a budget of $50.
The key to this frugal makeover was using what I already had. I upcycled what was already in my home. I’m a big believer in relocating and repurposing items that are already in our house to make space appear new and fresh. If you’re on any sort of a budget, this is a great tip to keep in mind!
Our desk is four years old and has been sitting in our basement collecting junk - I cleared and purged the junk and we moved the IKEA desk upstairs. I used a water jug from my kitchen (Target) and added some in some fake foliage. I went to our bookshelf and grabbed a few of my favourite books, inspirational books, and books on my “to read” list this year. I love having something inspirational to look at. The chair? It’s an extra chair we had in our garage for if ever we needed more seating around our kitchen table, and the cover is a long faux fur rug that used to be on the floor in this room. All Upcycled!
Okay, heres where I spent my $50.
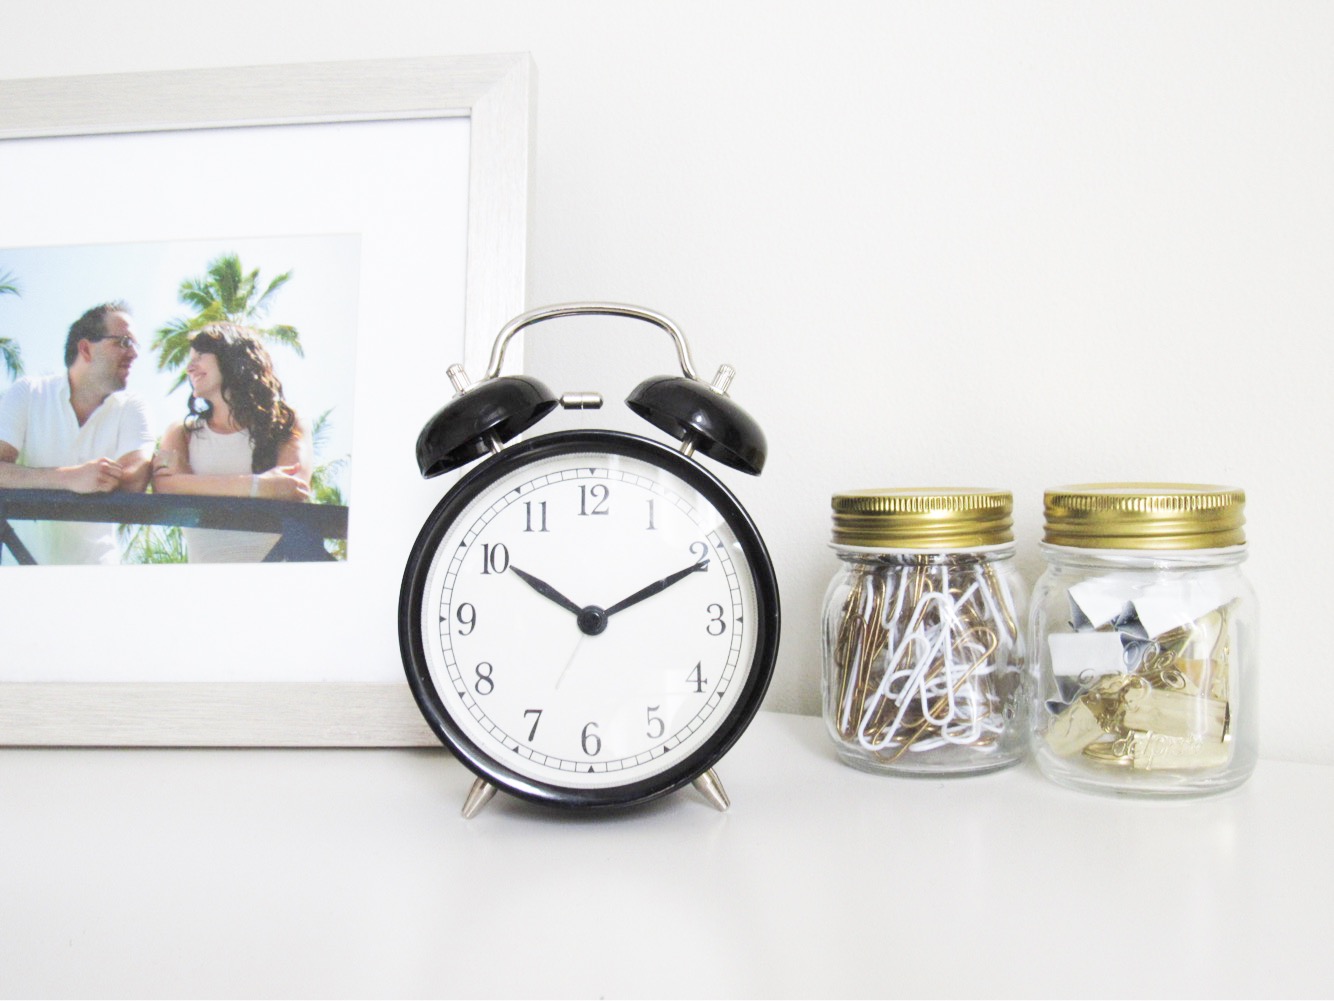
The jars of push pins and paper clips were $12 for the set of three from Homesense.
The wall art was also purchased at Homesense for $12.99, and the blank canvas was $4.99.
Now, I have to take a minute and talk about the blank canvas because it is, by far, my favourite piece about this space. I got brave. Very brave, and decided to let Maximus paint at home for the first time. My home looked slightly like a crime scene with garbage bags everywhere - I was taking no chance of paint on my walls, washable or not. I gave him a small bowl of black paint and a few different sized brushes and let him have at it. The outcome is my new favourite piece of wall art I own and I smile every time I look up at it. Every. Single. Time.
There you have it. A glimpse into my frugal home makeover. A place where creativity lives. A place that although is not large, serves a purpose, a purpose so much bigger than even I can imagine.


